
Last updated November 2, 2026
 Whole-home duct cleaning
 Dryer vent cleaning
 Camera inspection
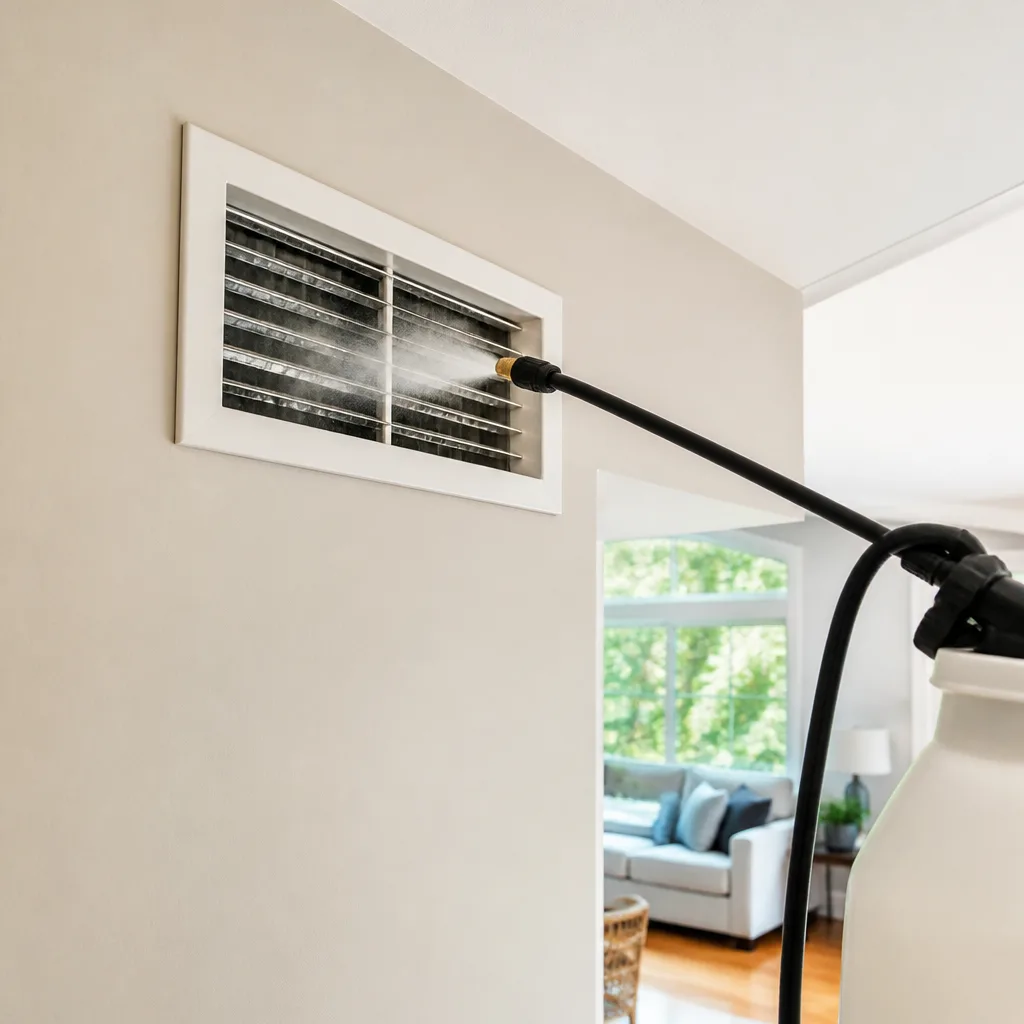 Sanitizing & deodorizing
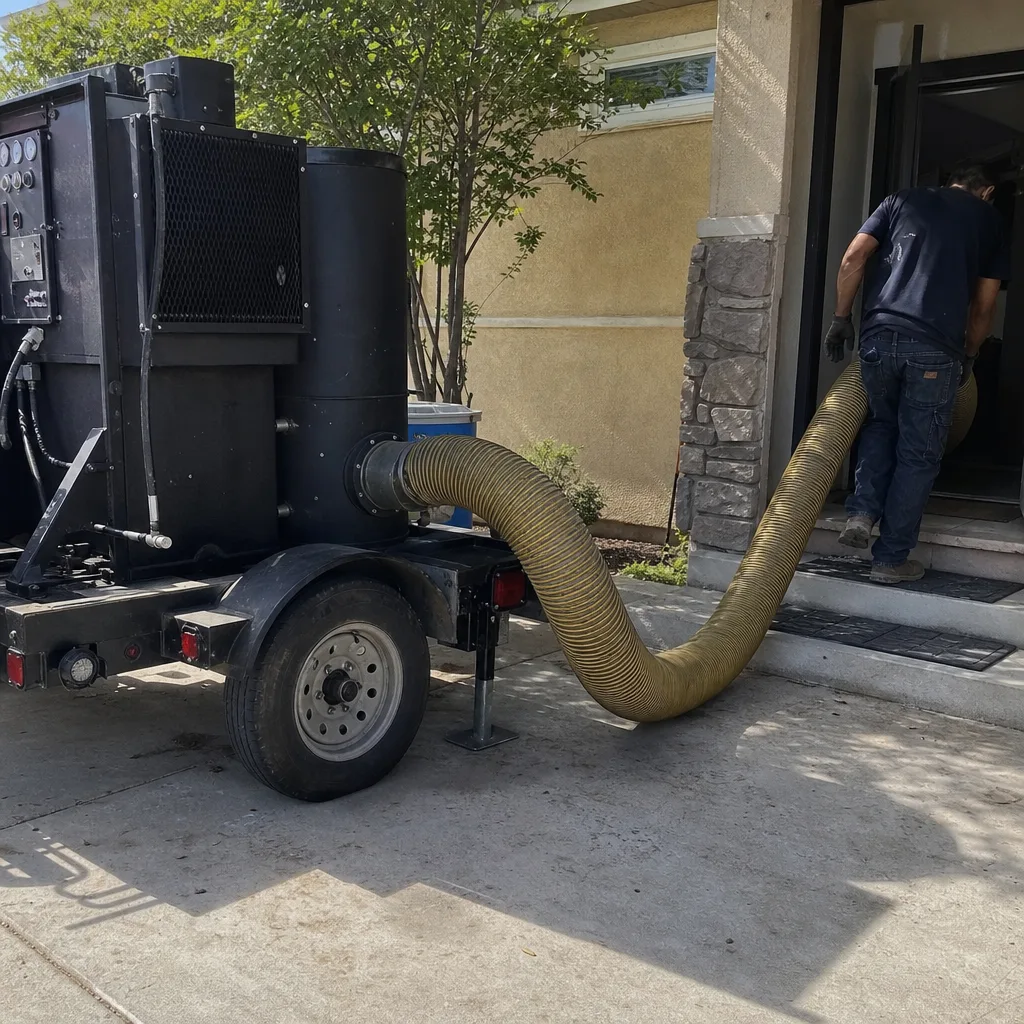
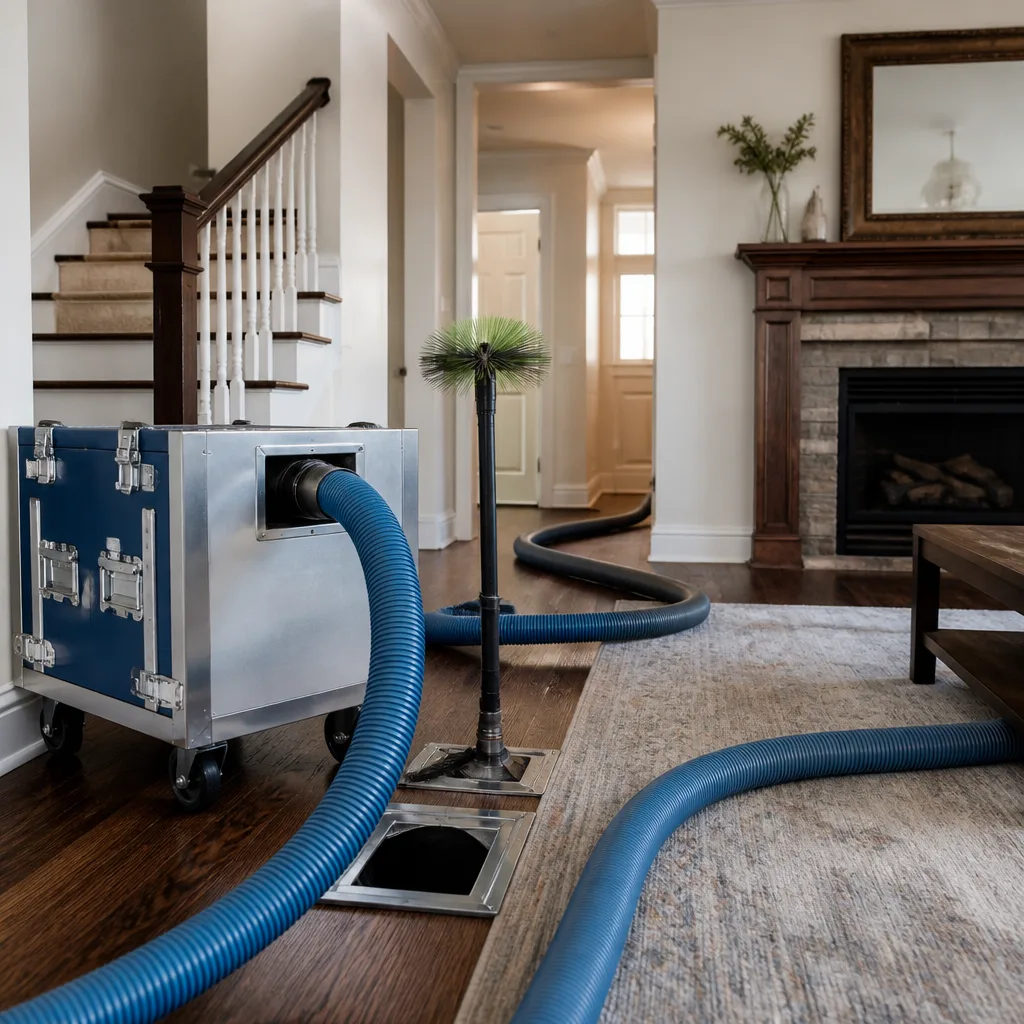
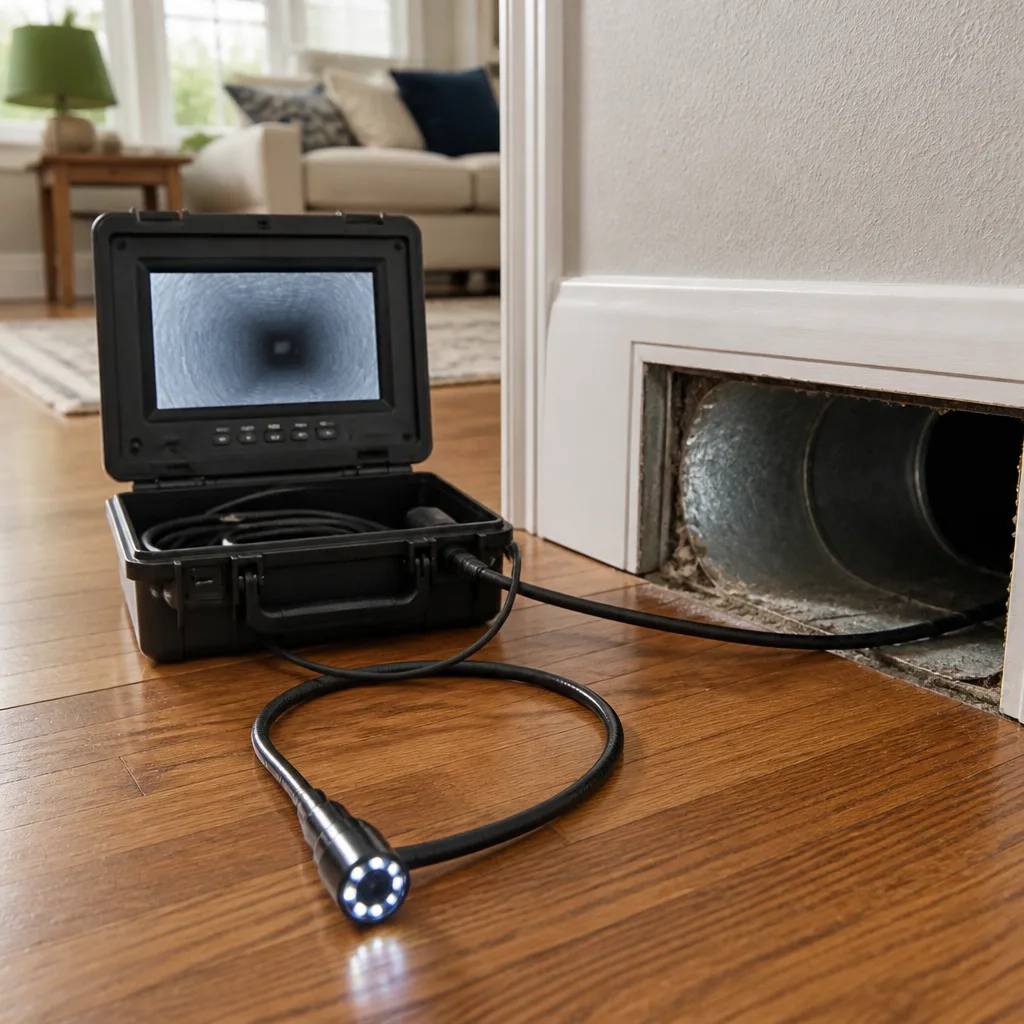
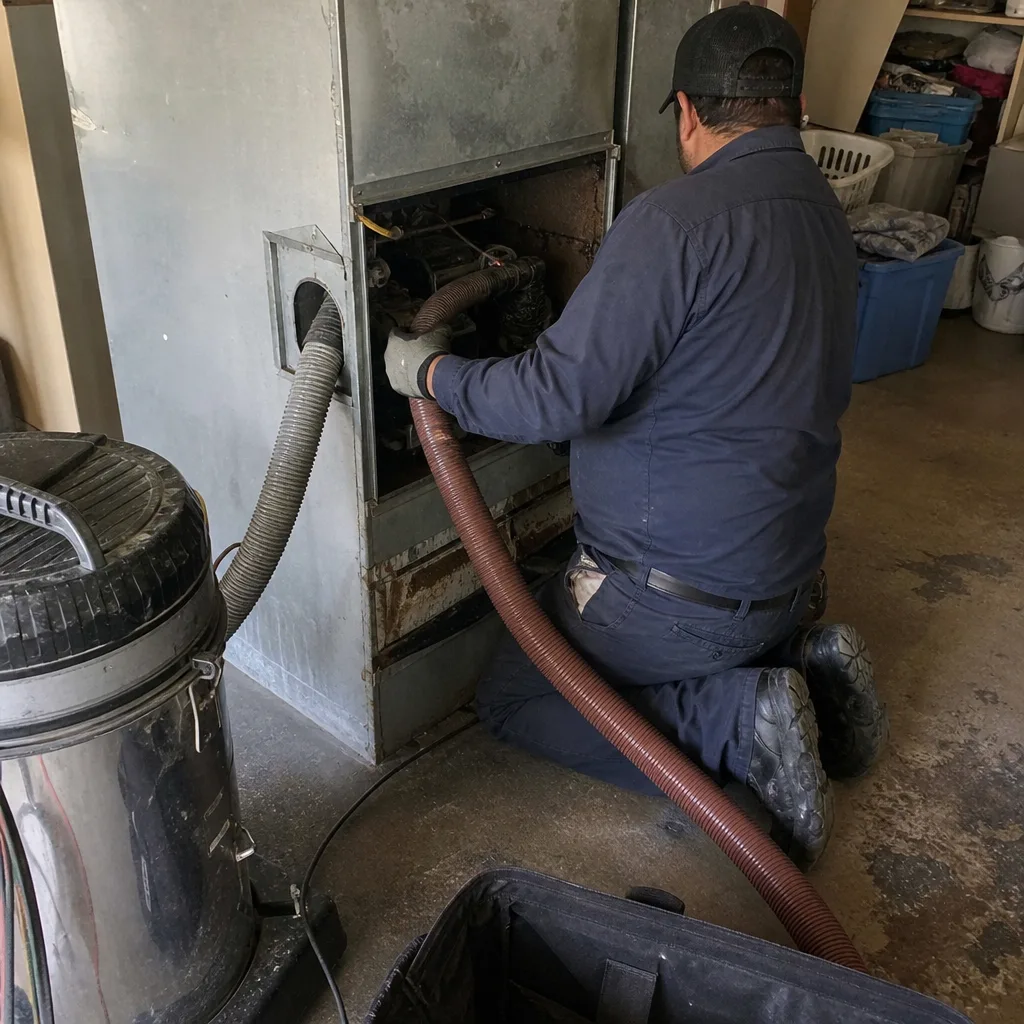
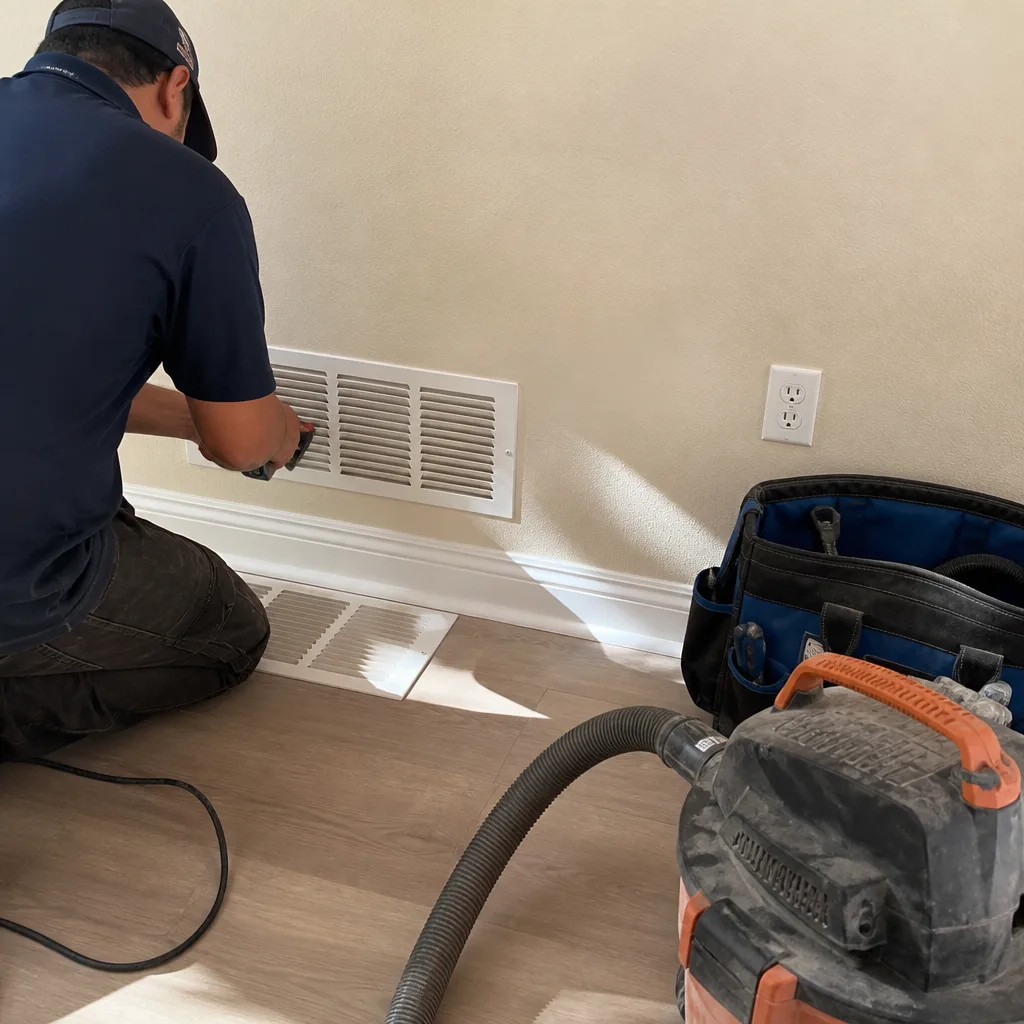
Whole-system duct and dryer vent check with before-and-after photos - you see exactly what came out of your vents
That "$99 whole-house special" is a bait ad - the real number appears once they are in your hallway, or the "clean" is a shop-vac at the register. We photograph the inside of your ducts before and after instead.
Air Duct Cleaning Maintenance Checklist for Lancaster Homeowners
A checklist that tells you to “change your filter every 90 days” isn’t a maintenance plan. It’s a placeholder. In Lancaster, a single Santa Ana wind event can cut filter life in half, and the fine, abrasive dust that settles into your ductwork during those weeks doesn’t leave on its own. This guide is built differently. It gives you a month-by-month maintenance calendar calibrated to Lancaster’s actual climate calendar, plus specific visual and airflow tests you can perform between professional cleanings. You’ll learn what to look for, when to act, and precisely which observations mean it’s time to pick up the phone for our Air Duct Cleaning services rather than reach for a screwdriver.
Quick Answer
An effective air duct cleaning maintenance checklist for Lancaster homeowners tracks three things: filter condition (checked monthly, replaced more often during March-May dust season and June-October wildfire smoke months), register airflow consistency (tested quarterly), and visible debris accumulation at supply and return vents (inspected monthly, with specific color and texture cues separating dust from mold from pest activity). The single most important maintenance task is not the filter. It’s the quarterly airflow test, which catches duct leakage and blockage before they become expensive efficiency losses. For deeper guidance when issues arise, see our Air Duct Cleaning Troubleshooting: Common Problems and How to Fix Them.
Styles & brands we work with
- Whole-home duct cleaning
- Dryer vent cleaning
- Camera inspection
- Sanitizing & deodorizing
Table of Contents
- The Lancaster Climate Calendar: Why Your Ducts Degrade on a Schedule
- Month-by-Month Maintenance Tasks
- Filter Management for Lancaster Dust and Wildfire Smoke
- How to Perform a Register Airflow Test
- Visual Inspection Criteria: Dust vs. Mold vs. Pest Debris
- Dryer Vent Lint Trap and Exterior Cap Inspection
- Threshold Criteria: When to Call a Professional
- Common Mistakes to Avoid
The Lancaster Climate Calendar: Why Your Ducts Degrade on a Schedule
Lancaster’s duct systems face three distinct stress periods each year, and each one degrades your ductwork in a different way. Understanding this calendar is the foundation of any real maintenance plan. Generic checklists ignore it entirely, which is why they fail.
March through May is Lancaster’s dust season. Prevailing winds kick up fine particulate from the western Antelope Valley, and that dust is drawn into your HVAC system every time the blower runs. This dust is finer than typical household dust. It settles deeper into duct interiors, coats blower fan blades, and accelerates filter loading. In our experience, homes in west Lancaster see noticeably heavier accumulation during these months than homes on the east side, simply because of wind direction and terrain. This is also the season when cottonwood and other spring allergens enter the system, making March through May the most common months for allergy-driven service calls.
June through October brings wildfire smoke into the equation. Smoke particulate behaves differently than dust. It’s finer, stickier, and it carries volatile organic compounds that can linger in duct interiors and insulation. When smoke is present in Lancaster’s air, your filter catches some of it, but the fraction that passes through accumulates on duct walls. That residue can off-gas odor for weeks after the outdoor air clears. If you ran your system during a smoke event, that residue is in your ducts until the next professional cleaning.
November through February is high-use heating season. Furnaces run for longer cycles, thermal expansion and contraction stresses duct joints, and static pressure increases, which can open small gaps at connections that were previously sealed. This is when pre-existing duct leaks reveal themselves. Homes with older sheet-metal ductwork in Lancaster, particularly those built before the 1990s, are most vulnerable to seasonal joint separation.
Each season leaves a different signature in your ductwork. Your maintenance plan should respond to the season you’re in, not a generic quarterly reminder on your phone.
Month-by-Month Maintenance Tasks
The tasks below are organized by Lancaster’s seasonal stress periods. Each one takes under 15 minutes. None of them require opening your ductwork.
March
- Install a fresh high-MERV filter, ideally MERV 11 or higher if your system can handle the pressure drop. March is the start of Lancaster’s dust season, and a fresh filter at the front of the season does more work than a change in the middle.
- Vacuum all visible supply and return register faces. Use the brush attachment. Don’t just wipe them: a vacuum removes the fine dust that a cloth pushes deeper into the register louvers.
- Perform a visual inspection of every return vent. Returns pull air in, so they accumulate dust faster than supplies. Look for gray, fluffy accumulation at the edges of the register face.
April
- Check your filter again. If you’re running the system regularly during windy weeks, it may already be visibly loaded. In Lancaster, April filters often look worse than filters that have run twice as long in coastal cities.
- Inspect supply registers for dust streaking. Streaking means air is carrying dust past the filter. If you see streaks on the wall or ceiling near a supply register, note it and check again in two weeks.
- Test one supply register in each major zone of the house with the airflow test described in the section below. Do it now, during mild weather, so you have a baseline before summer.
May
- Inspect the condensate drain line if your system has air conditioning. Dust entering the system mixes with condensation and can form sludge that clogs the drain. A slow-draining condensate line is a sign that dust is also accumulating on the evaporator coil.
- Look behind one or two return registers by removing the register face and using a flashlight. Do you see more than a quarter inch of dust on the visible duct interior? Make a note. That’s a measurable indicator, and tracking it over time tells you whether your duct system is accumulating or staying clean.
June
- Switch to a fresh filter at the start of wildfire smoke season. When smoke is in the Lancaster air, your filter is the first line of defense. A loaded filter lets more smoke particulate pass through.
- Check the weather forecast for smoke events. If smoke is predicted, run your fan on “On” rather than “Auto” during the smoky hours. This keeps air circulating through the filter continuously, but it also means you need to check the filter more frequently afterward.
July and August
- Peak cooling season. Check filters every two weeks. High static pressure from a loaded filter reduces airflow, which reduces cooling capacity exactly when you need it most.
- Listen for new whistling or hissing sounds at supply registers. These can indicate a new duct leak or a register that’s partially blocked. Note which room and whether the sound changes with the blower speed.
- Inspect the exterior dryer vent cap. Summer is a common time for birds and rodents to explore vent openings. Look for nesting material around the cap.
September and October
- Continue biweekly filter checks if smoke has been present. Smoke residue is sticky and loads filters differently than dust. A filter that looks brown or tan rather than gray has captured smoke particulate.
- Perform a second full airflow test at all supply registers. Compare against your March or April baseline. Any register that has weakened noticeably suggests a new obstruction or leak.
- Before heating season, inspect the area around the furnace or air handler for dust accumulation. If the blower compartment is pulling dusty air from the mechanical room, that dust is being distributed through the house.
November
- Install a fresh filter before heating season ramps up. This is the third seasonal filter change, and it matters: a clean filter at the start of heating season reduces the load on the blower motor during the highest-use months.
- Walk the house during the first few heating cycles. Heat causes ductwork to expand, and that expansion can make a barely-sealed joint open up. Listen for rattles, ticks, or air movement sounds you didn’t hear during cooling season.
- Check supply registers in the rooms farthest from the furnace. These are the rooms where a partial blockage or leak shows up first, because they’re downstream of every other register.
December through February
- Monthly filter checks, same as summer. Heating season in Lancaster runs the blower for long cycles, especially on cold nights.
- Inspect all visible ductwork in the attic or basement, if accessible. Look for separation at joints, sagging flexible duct runs, or disconnected sections. A disconnected duct in an unconditioned attic is heating the attic, not the house.
- Check the dryer vent cap once more. Winter is peak dryer use in Lancaster. Lint builds faster when families dry heavier clothes and run more loads.
These monthly tasks keep you connected to what’s actually happening in your duct system. But between them, you should also be running the two diagnostic tests below. They are the core of a Lancaster-specific maintenance plan, and they take minutes.
Filter Management for Lancaster Dust and Wildfire Smoke
Filters are the most misunderstood component in residential HVAC maintenance. The standard advice, “change it every 90 days,” assumes a clean, temperate environment. Lancaster is neither. Here’s what actually determines filter life in this climate.
Dust loading. During March through May, wind-driven dust loads filters at two to three times the rate seen in coastal Southern California. If you run your system’s fan continuously, that rate increases further. A filter that would last 90 days in Santa Monica often reaches the end of its useful life in 30 to 45 days in Lancaster.
Smoke loading. Wildfire smoke particulate is smaller than dust and tends to pass through low-MERV filters entirely. What it does instead is coat the filter media with a fine, sticky residue that reduces airflow quickly. After a significant smoke event, inspect your filter within days, not weeks.
Filter rating vs. airflow. Not every Lancaster home can accommodate a MERV 13 filter. Higher MERV ratings trap finer particles, but they also create more resistance. Older systems, or systems with undersized ductwork, may experience reduced airflow with a MERV 13 filter, which hurts efficiency and can cause the evaporator coil to ice over in summer. If you want high-MERV filtration, have a technician assess your system’s static pressure. This is exactly the kind of detail that separates a guess from an engineered approach, and it’s why we use professional-grade equipment like Abatement Technologies air quality tools to measure what’s actually happening in a system rather than assuming.
The practical rule for Lancaster: check your filter monthly. Replace it when it’s visibly loaded with gray or brown debris, regardless of the calendar. In practice, that means March through May and June through October often require monthly changes, while November through February may allow six to eight weeks between changes.
And if you’re running a Honeywell or Aprilaire media filter cabinet, the same rules apply. Those systems hold more media and can extend change intervals, but Lancaster dust shortens every interval. Don’t wait for the filter to look black. By then, the system has been working harder than it should for weeks.
How to Perform a Register Airflow Test
The register airflow test is the single most useful diagnostic you can perform between professional cleanings. It costs nothing and takes about ten minutes for the whole house. Here’s the method.
What you need: a single-ply tissue or a stick of incense. The tissue works for most tests. Incense gives you a more visible smoke stream for weak airflow readings, but it adds odor, so use it sparingly.
Step 1: Set the baseline. Turn your system’s fan to “On,” not “Auto.” Close all exterior doors and windows. Wait five minutes for the system to reach steady state.
Step 2: Test each supply register. Hold the tissue about six inches from the register face. The tissue should deflect noticeably and consistently. Move it around the register face. Does the deflection stay consistent across the whole face, or does it weaken at the edges? Inconsistent airflow across a single register suggests a partially closed damper, a register blockage, or debris accumulation inside that specific branch duct.
Step 3: Compare rooms. Walk through every room with a supply register and compare the deflection from room to room. Rooms farthest from the furnace or air handler will naturally show slightly less airflow, but the drop should be modest. If one room is dramatically weaker than the others, you have a branch duct problem: a disconnected joint, a crushed flexible duct, or a damper that’s been pushed closed.
Step 4: Test return registers. Hold a tissue near each return. It should be pulled toward the register. A weak pull means the return path is restricted, which starves the system of air and forces it to work harder. In Lancaster homes with a single central return, a closed bedroom door can dramatically increase static pressure and starve the system. If you keep bedroom doors closed, consider leaving them cracked open at least two inches or installing transfer grilles.
Step 5: Record your findings. Write down which registers feel strong, average, or weak. Do it in March or April, then again in September or October. Comparing results across seasons catches slow degradation that you’d never notice day to day.
What the test tells you. A sudden drop in airflow at one register points to a specific branch duct issue. A gradual decline across all registers points to system-wide accumulation or filter loading. Either way, the test gives you objective data instead of a vague feeling that “the system isn’t working like it used to.”
Visual Inspection Criteria: Dust vs. Mold vs. Pest Debris
Not everything you see on a register or inside a duct is the same problem. Treating it all as “dust” leads to the wrong fix. Here are the observable differences, based on what we see in Lancaster homes.
Dust. Lancaster dust is typically light gray to tan, fine, and dry. It accumulates on register faces as a thin, even coating. Inside the duct, it appears as a powdery deposit that sits on the duct bottom. It brushes away easily and doesn’t cling. If you see fine, uniform gray dust, you’re seeing normal environmental accumulation, and the fix is cleaning, not repair.
Mold. Mold looks different. It appears as irregular patches, often black, dark green, or brown, and it clings to the surface rather than resting on it. It doesn’t brush away with a cloth; it smears. Mold in ducts is much rarer than the internet would have you believe, but it does occur in Lancaster when condensation forms inside ductwork. This happens most often in humid summer months when cool air moves through ducts located in hot attics. If you see patchy, clinging discoloration that smears, stop and call a professional. Do not attempt to clean it yourself. Disturbing mold releases spores throughout the house.
Pest debris. Pest activity looks different again. Rodent droppings are dark, rice-shaped pellets clustered in one area, often accompanied by gnawed insulation or nesting material. Insect debris might include shed wings, insect parts, or fine sawdust-like frass. Pest debris is never evenly distributed like dust. It appears in specific locations. In our experience, Lancaster homes with detached structures or larger lots see more pest intrusion into ductwork than denser suburban neighborhoods, simply because rodents have more habitat nearby.
Rust and corrosion. Orange or reddish-brown staining on duct interiors indicates moisture has been present. This often appears at joints or low points in the duct run. Surface rust isn’t an immediate emergency, but it tells you that condensation is forming where it shouldn’t, which is a precursor to structural deterioration and mold. It’s worth addressing the moisture source before paying for a cleaning that won’t solve the underlying issue.
Construction debris. In newer Lancaster homes, or homes that have undergone renovation, you may find drywall dust, sawdust, paint chips, or even lumber scraps inside ducts. This debris is usually localized near the registers and returns closest to the work area. It’s not a maintenance issue you can fix yourself. It requires a professional cleaning to remove, because construction debris is often too heavy and dense for a homeowner to reach through a register opening. Before scheduling, check Air Duct Cleaning Permits, Codes & Inspections in CA: What You Need to Know to understand any requirements.
The key distinction is distribution. Even, uniform, fine, dry debris is ordinary dust. Irregular, clustered, clinging, or pelletized debris is something else, and something else requires a different response.
Dryer Vent Lint Trap and Exterior Cap Inspection
Most duct maintenance checklists ignore the dryer vent entirely, which is a serious omission. Dryer vents are ductwork, they clog, they reduce efficiency, and they create fire risk. In Lancaster, where dry air and high temperatures already raise fire danger, a clogged dryer vent is not a minor household nuisance.
Here’s a monthly checklist for the dryer side of your duct system.
Step 1: Inspect the lint trap every load. If the lint screen itself is damaged, replace it. A torn screen lets lint pass straight into the vent duct, where it accumulates out of reach. This is a five-second check that most people skip.
Step 2: Check the exterior vent cap monthly. Walk outside and look at the vent cap where the dryer exhausts. The flap should open when the dryer is running and close when it stops. If the flap stays open, lint, insects, and rodents can enter. If it stays closed while the dryer runs, airflow is restricted, and lint is building up inside the duct. A stuck-open flap is one of the most common reasons Lancaster homeowners find pests in their ductwork.
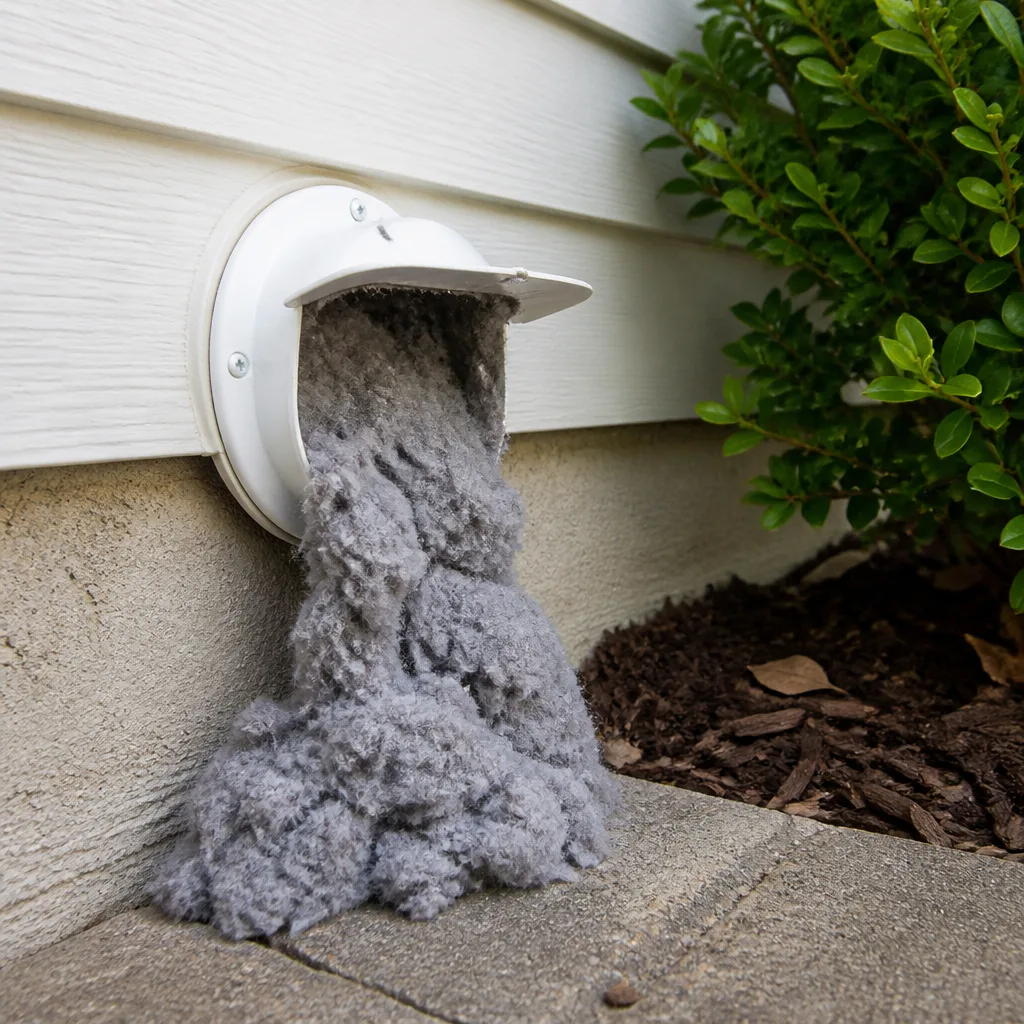
Step 3: Look for lint accumulation around the exterior cap. If you see lint clinging to the outside of the vent cap or on the wall near it, the exhaust airflow is weak, and lint is backing up inside the duct. That’s a warning sign of a partial blockage.
Step 4: Monitor drying time. If loads that used to dry in 45 minutes now take 70 or 80 minutes, the vent duct is restricted. Clothes aren’t getting less absorbent. The airflow is declining. Every extra minute of drying time is money spent running the dryer, and every cycle with restricted airflow deposits more lint into the duct.
Step 5: Know your duct material. If your dryer vent is flexible foil or plastic tubing, it’s a much higher risk than rigid metal duct. Flexible tubing sags, traps lint, and can be crushed. Semi-rigid aluminum and rigid metal ducts carry lint more efficiently. If you have foil or plastic vent tubing, prioritize replacement. This is a repair task, and it is exactly the kind of job that Air Duct Repair in Acton covers when we’re working in the Antelope Valley.
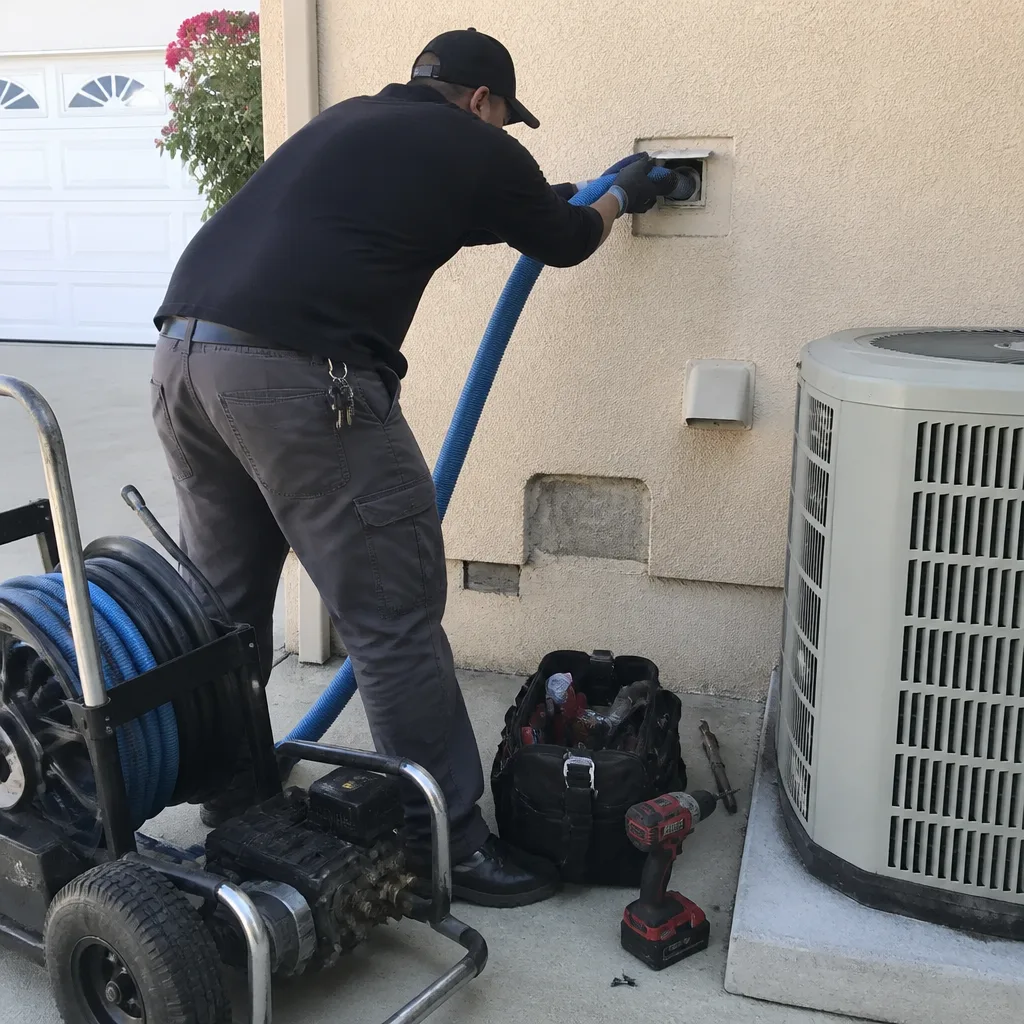
Dryer vent cleaning is a separate service from air duct cleaning for a reason. The tools and approach are different, and the safety stakes are different. If you haven’t had your dryer vent cleaned in more than two years, schedule it. Lint accumulates faster than most people believe, and in Lancaster’s dry climate, a lint blockage is a fire waiting for an ignition source.
Threshold Criteria: When to Call a Professional
Most maintenance tasks in this guide are DIY-friendly. They’re inspections, observations, and simple tests. But there are specific thresholds where professional intervention is not just recommended, but necessary. Here are the criteria.
Call a professional when:
- Airflow at any register drops by more than half compared to your baseline test. This indicates a disconnected or crushed duct, not an accumulation problem. Cleaning won’t fix a structural failure.
- You see mold, not dust. Any patchy, clinging, smearing discoloration inside a duct is beyond DIY scope. Mold remediation in duct systems requires containment, proper removal techniques, and verification. Disturbing it without training spreads it.
- You see pest debris or evidence of nesting. Rodent activity in ducts means droppings, urine, and potential contamination throughout the system. The ducts need cleaning, the entry point needs sealing, and the repair may need to be addressed. We handle this at Duct Cleaning Lancaster as part of our full-scope approach, because cleaning ducts that pests can re-enter immediately is a wasted effort.
- You hear rattling, banging, or air escaping sounds that you can’t attribute to normal expansion. These sounds often indicate loose duct connections or failed fasteners, particularly after the thermal cycling of heating season.
- Visible dust inside the duct interior exceeds a quarter inch when checked with a flashlight through the register opening. At that level, a professional cleaning is overdue.
- Your dryer vent hasn’t been cleaned in two or more years. This is a hard rule, not a suggestion. Lint is combustible, and Lancaster’s dry climate makes fire risk a year-round concern.
- Construction or renovation work has occurred in the home and the ducts were not professionally cleaned afterward. Drywall dust and sawdust don’t clear themselves. They circulate for months.
When you’re at any of these thresholds, the right move is a professional evaluation, not another round of DIY maintenance. Duct Cleaning Lancaster works with Lancaster homeowners every day, and our approach uses Rotobrush and Nikro equipment, which are purpose-built for duct systems, not adapted from something else. The difference is measurable. Airflow before and after a proper cleaning tells the story: when a system moves air the way it was designed to, registers that tested weak come back strong, and rooms that never seemed comfortable suddenly are. That’s not marketing language. It’s what happens when the right tools meet the right training. Explore more guides & resources to keep your system running at its best.
If you’re in Lancaster and you’re not sure whether what you’re seeing is normal accumulation or something that needs attention, call us at (833) 589-9773. Estimates are free, and we’d rather tell you that you have a mild dust situation you can manage yourself than sell you a service you don’t need. But when we do recommend cleaning or repair, you’ll know we’re recommending it because the evidence in your ductwork says so.
Common Mistakes to Avoid
- Trusting the 90-day filter rule. Lancaster’s dust and smoke seasons make the generic interval meaningless. Check monthly and replace when visibly loaded. A filter that’s black in April was overdue in March.
- Closing bedroom doors during cooling season. With a single central return, closed doors starve the system. Leave doors cracked at least two inches or install transfer grilles. This single change improves airflow and reduces strain on the blower.
- Ignoring the dryer vent because it’s “separate.” It’s not separate. It’s ductwork, it clogs, and it’s the most dangerous duct in your house if neglected. Monthly exterior cap checks take under a minute.
- Treating all register debris as dust. Dust is uniform and dry. Mold is patchy and clinging. Pest droppings are localized pellets. Using the wrong response wastes time and can make the real problem worse.
- Running the system during a smoke event with a loaded filter. When smoke is in Lancaster’s air, your filter needs to be clean to do its job. A loaded filter means more smoke particulate reaches your ducts and your lungs.
- Assuming a new home has clean ducts. Construction debris in ductwork is common in new Lancaster construction. If the builder didn’t clean the ducts after the drywall phase, that dust circulates through the house for the first year. New doesn’t mean clean.
- Waiting for a complete failure before investigating. Duct problems develop slowly: a small leak becomes a larger one, a light dust accumulation becomes a thick layer. The register airflow test and monthly visual inspections are designed to catch problems early, when they’re cheaper to fix.
See the difference
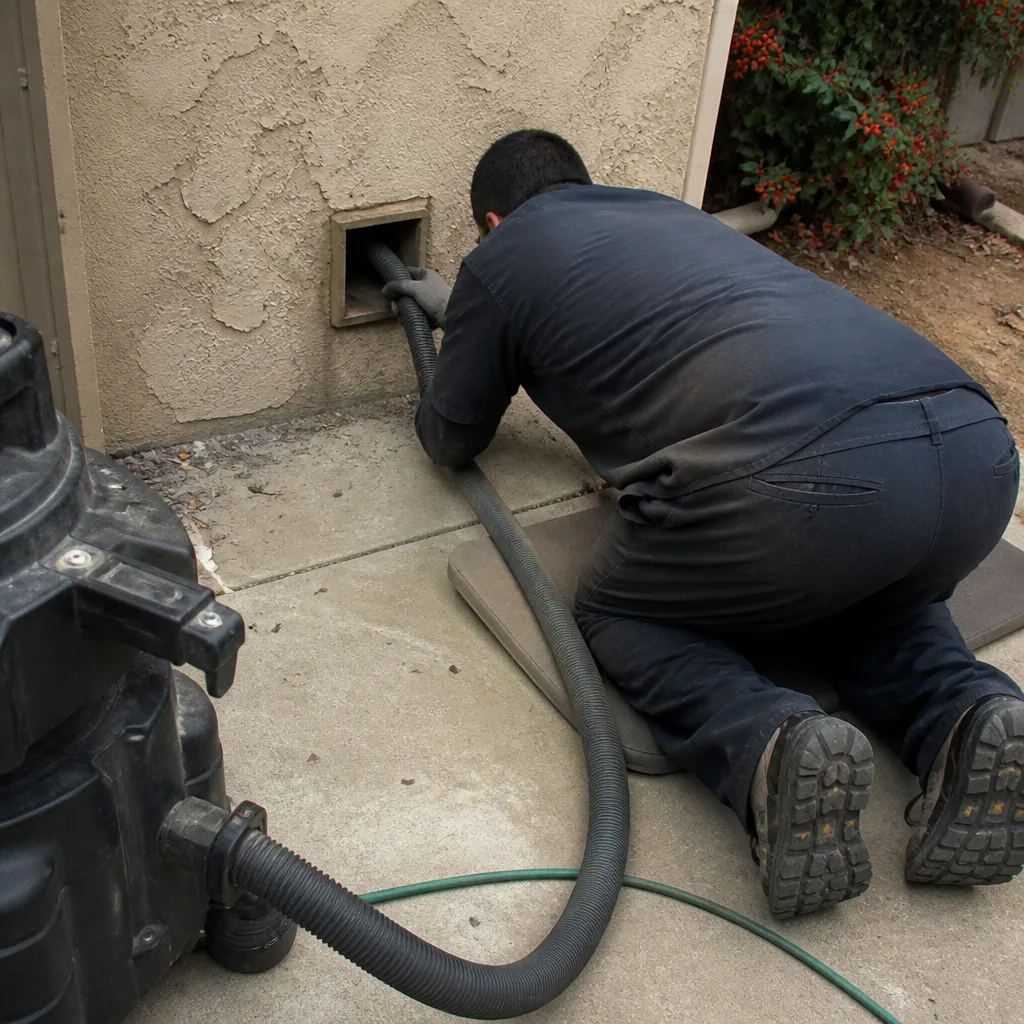 Before
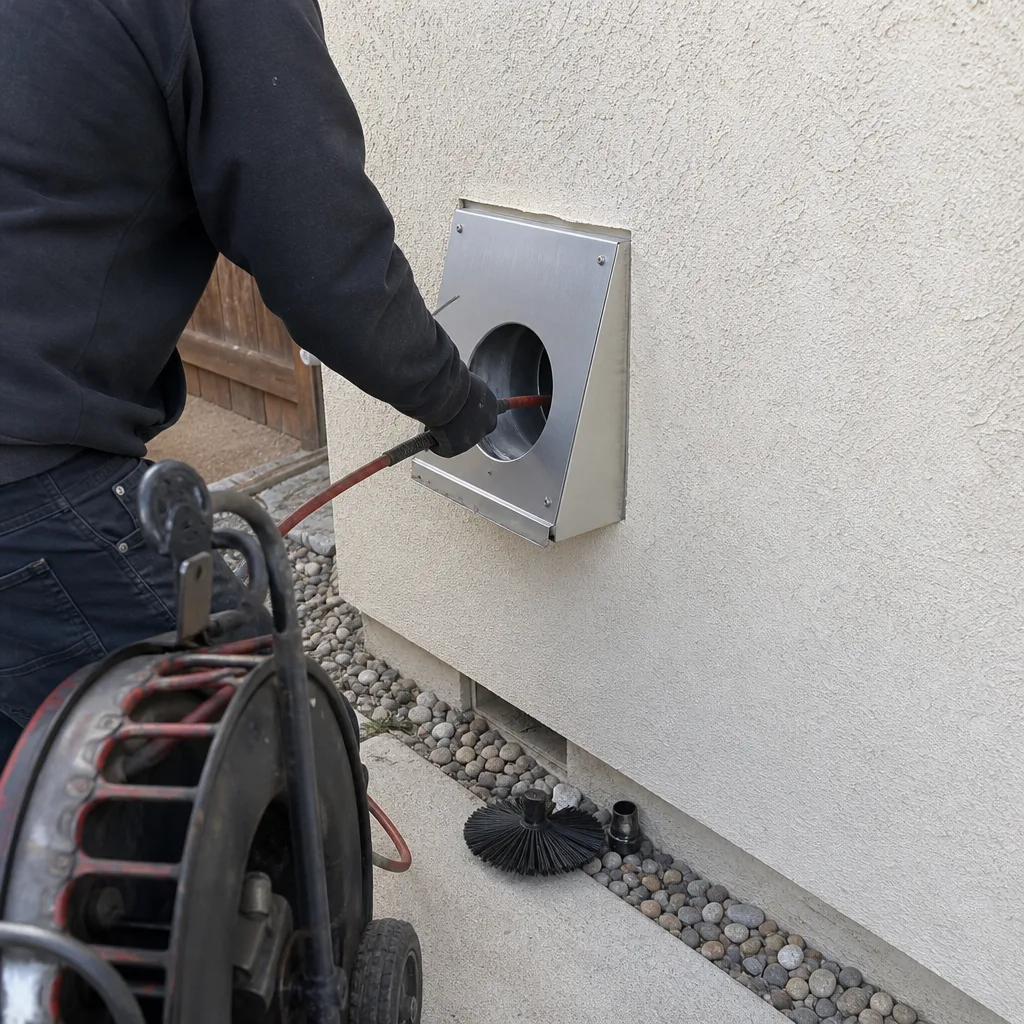 After
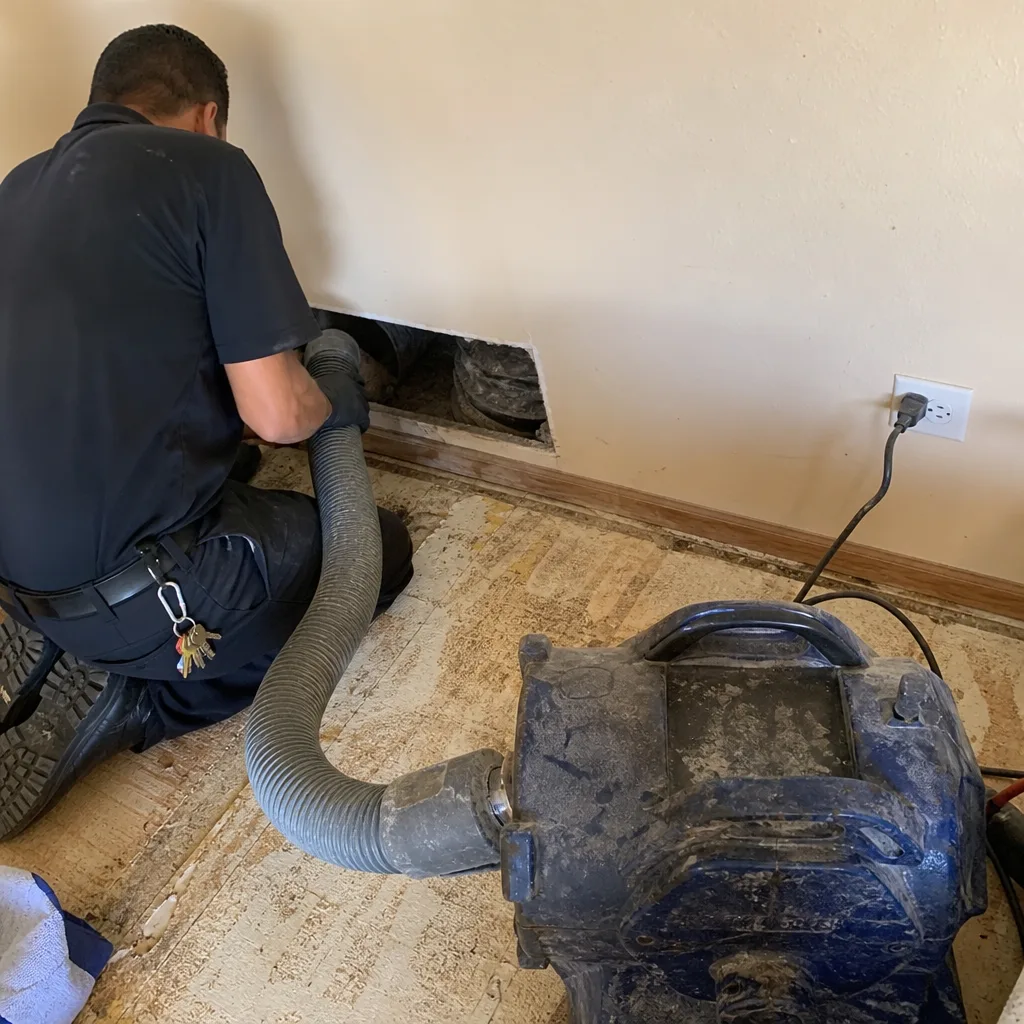 Before
 After
 Before
 After
When to Call a Professional
Some situations don’t call for another round of DIY. If your register airflow test shows a sharp decline in one room, that’s a structural issue, not a cleaning issue. If you see mold, pest debris, or rust inside your ducts, stop inspecting and start dialing. If your dryer vent hasn’t been cleaned in years, or if drying times have stretched significantly, the problem is inside the vent and out of your reach. These are the moments when professional equipment matters.
Duct Cleaning Lancaster offers free estimates in Lancaster. Call (833) 589-9773 and we’ll assess what’s actually happening in your duct system, using the same professional-grade tools we use on every job. No pressure, no upselling. Just an honest read on what your ducts need.
Frequently Asked Questions
Most Lancaster homes benefit from professional air duct cleaning every three to five years, but homes with pets, smokers, or recent construction work often need it sooner. The clearest indicator is what you see: if visible dust inside the duct exceeds a quarter inch when checked with a flashlight through a register opening, cleaning is overdue. Our experience with Lancaster homes is that wind-driven dust in the spring and smoke particulate in the late summer accelerate accumulation compared to coastal areas, so three to five years is a reasonable range for most households.
Whole-system air duct cleaning in Lancaster typically runs from $400 to $900 for an average single-family home, depending on system size, number of returns, and accessibility. That’s a whole-system price, not a per-vent teaser rate that grows into a much larger invoice. If you’re comparing quotes, ask whether the price covers the entire system or whether it’s a base rate with add-ons. Call (833) 589-9773 for a specific quote on your home. Estimates are free.
Cheap duct cleaning quotes usually mean one of two things: the company is planning to upsell aggressively once they’re inside your home, or they’re using consumer-grade vacuums that don’t have the suction or agitation capacity to actually clean ducts. A proper cleaning requires professional equipment designed for ductwork, which costs money to own and maintain. When a quote seems too good to be true, it usually is. The question to ask is what equipment they use and what the final price will be, in writing, before they start.
You should receive before-and-after photos of the inside of your ducts. A legitimate company documents the work. You can also perform the register airflow test before and after the service: if airflow improved, the cleaning removed real restriction. The biggest tell, though, is dust settling on surfaces. After a proper cleaning, the amount of dust landing on furniture should drop noticeably within a week or two, because the system is no longer circulating accumulated debris.
It can, especially during Lancaster’s spring dust season. Ducts hold dust, pollen, and other particulate that gets recirculated every time the blower runs. If the system hasn’t been cleaned in years, cleaning removes that reservoir. But cleaning isn’t a cure-all. If your filter is low-MERV or loaded past its useful life, new particulate enters the system constantly. The combination that works is a clean duct system plus a proper filter maintained on schedule. If you’re running Honeywell or Aprilaire filtration hardware, make sure it’s sized and installed correctly, because that’s where most of the daily air quality work actually happens.
You can vacuum registers and visible duct openings, but you cannot effectively clean the interior of a duct system without professional equipment. Residential vacuums don’t have the reach, the airflow, or the agitation capability to dislodge accumulated dust from duct walls. Attempting DIY cleaning often just loosens debris that then circulates through the house. Professional systems like Rotobrush and Nikro equipment are engineered for this specific job. The DIY tasks in this guide are about inspection and monitoring, not cleaning.
The Bottom Line
Duct maintenance in Lancaster isn’t a set-it-and-forget-it task. Your system faces distinct stress periods: spring dust, summer smoke, and winter heating cycles, each leaving a different signature. The maintenance plan that works here combines monthly filter checks with quarterly airflow tests, monthly visual inspections, and a dryer vent routine that most checklists ignore. When you see dust, you clean. When you see mold, pest debris, or falling airflow, you call a professional. That distinction is the difference between a system that degrades quietly for years and a system that runs efficiently because someone was paying attention. If you haven’t checked your ducts this season, start today. And if what you find concerns you, we’re at (833) 589-9773.
Written by the team at Duct Cleaning Lancaster, serving Lancaster since 2014.